Quick List Guide
This guide will help you navigate through the features and functionalities of the Quick List in BizVue.
Getting Started with BizVue
1. Log In:
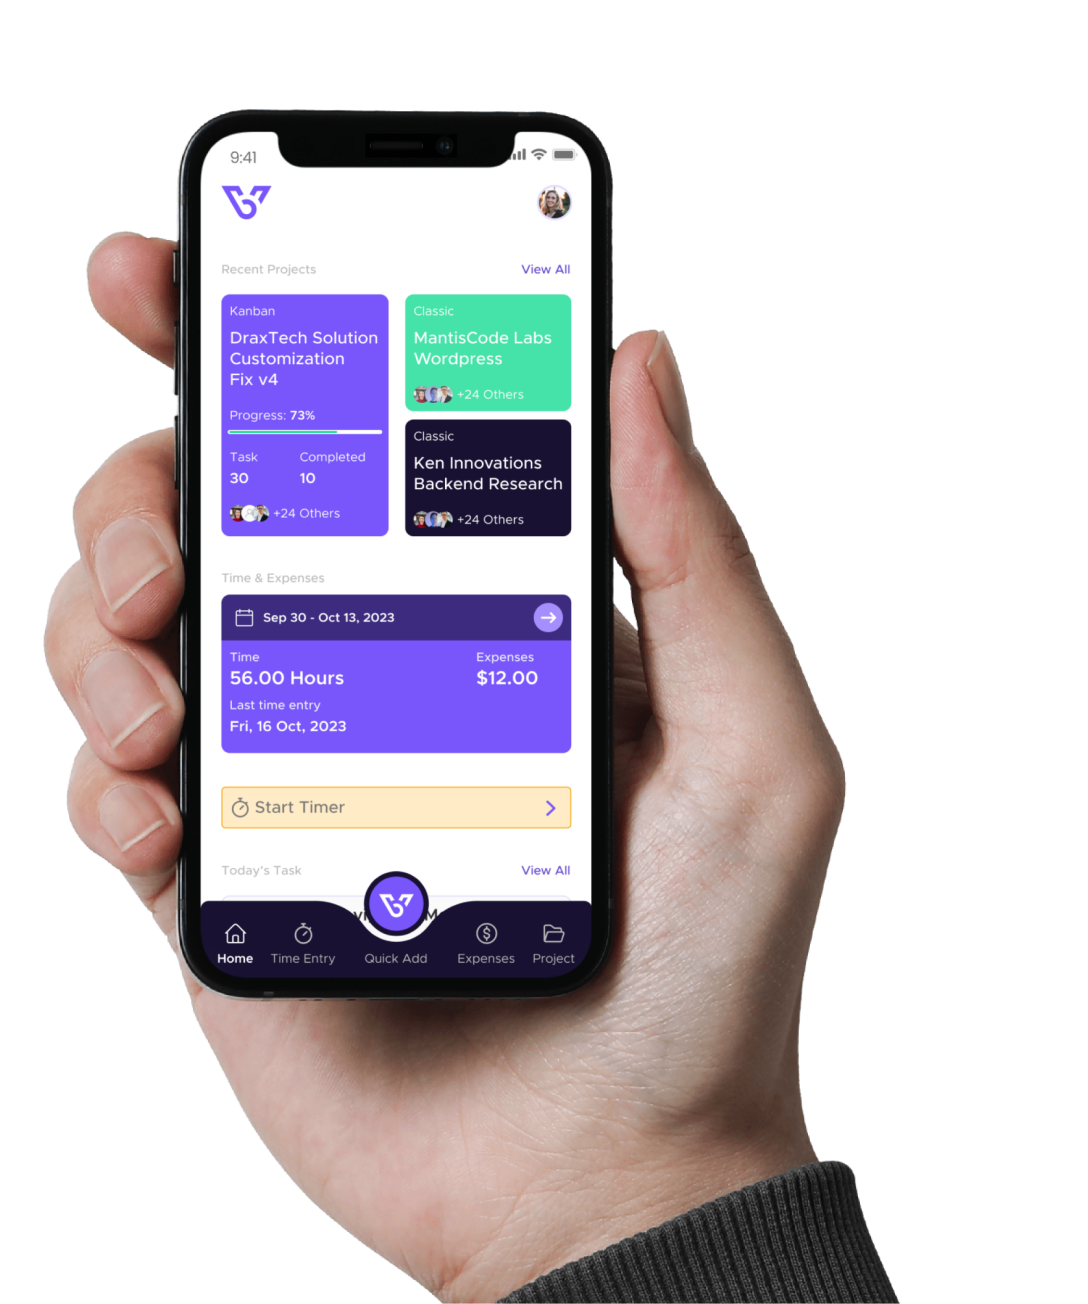
Once you log in, you will be directed to the BizVue home page. The home page displays a dashboard that gives you an overview of the app’s core features. The navigation menu is located on the left side of the screen.
2. Access the Quick List:
Click on the Quick List icon located at the bottom right of the navigation menu.

Using the Quick List
To fully utilize the Quick List, complete the following steps:
1. Add a Task:
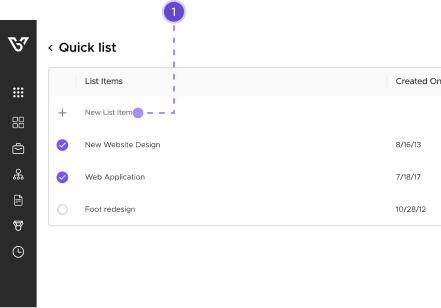
On the Quick List page, click on + New List Item.

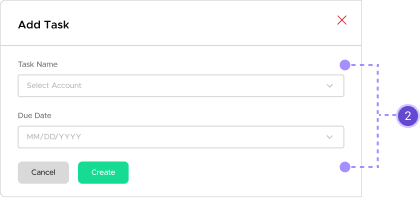
2. Select Due Date and Add Task Description:
- Select a Due Date by clicking on the Date Field and choosing a date on the calendar.
- Add a description of the task in the Task Description field.

3. Mark Tasks as Completed:
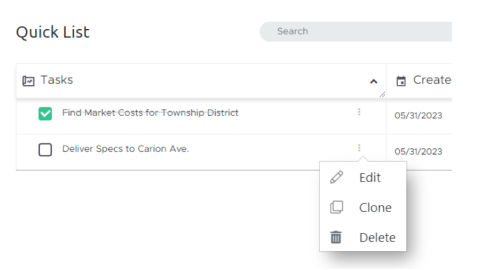
When a task is finished, click in the box next to the task to mark it complete. A strikethrough line will appear to signify its completion.

Editing Tasks
To make any changes to a task, you can edit, clone, or delete entries using the three-dot icon next to each task.

Frequently Asked Questions (FAQs)
Our FAQ section is here to provide clarity and support as you navigate the Quick List feature in BizVue. Discover solutions to common queries about task organization, sharing options, and more. If you have any further questions or need assistance, don’t hesitate to contact our support team at support@bizvue.io. We’re here to help you make the most of your Quick List experience.
Can I share my Quick Lists with other users?
How many tasks can I have in my Quick List?
Who should use Quick List?
I have questions about the Quick List in BizVue, who do I reach out to if I have any questions?

We’ve finished our walkthrough of the Quick List in BizVue! Start using these features to keep your tasks organized and efficiently managed.


